High-Humidity Baby Food Preparation: 9 Science-Backed Fixes
10th Jun•9 min read
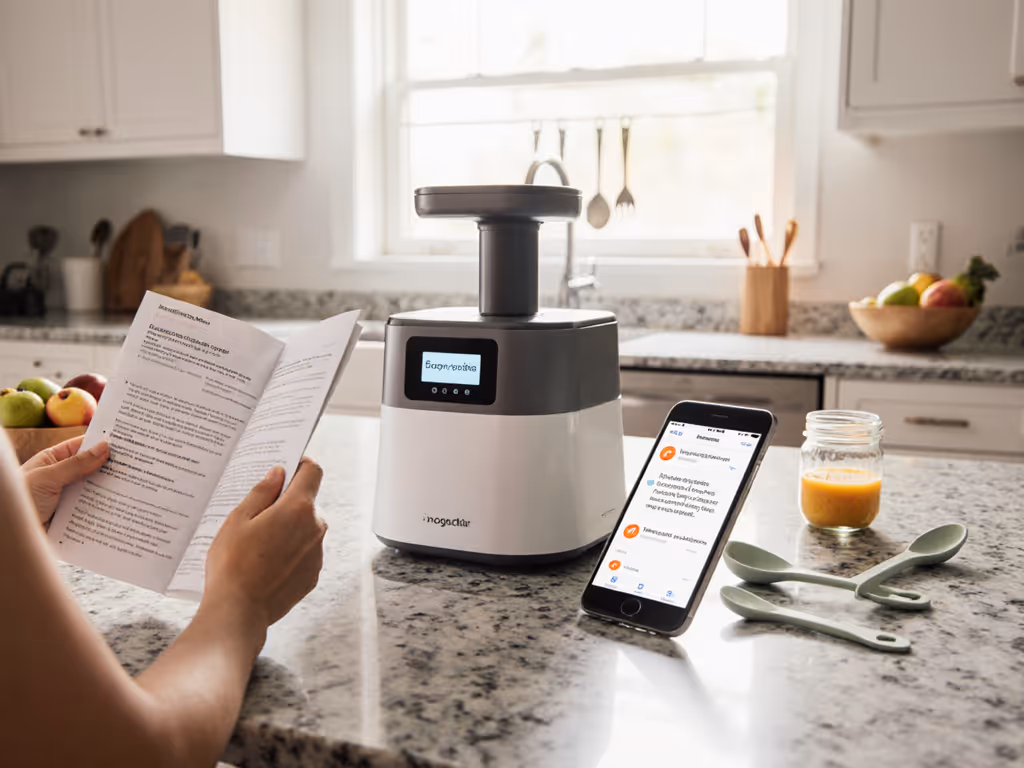
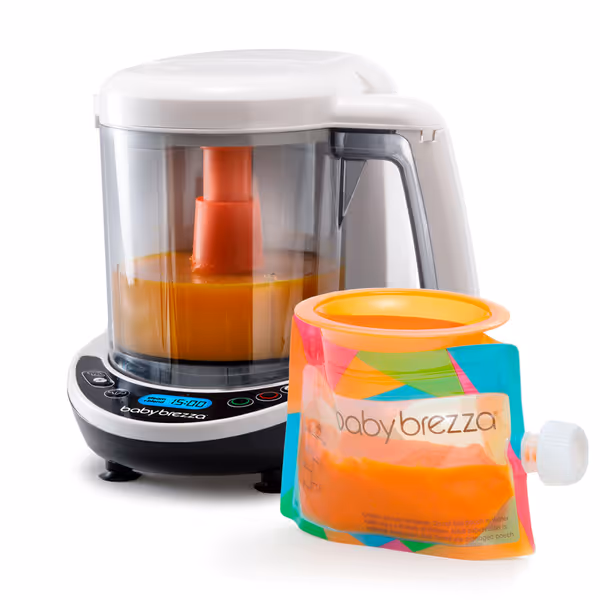
A baby food maker isn't just a kitchen appliance, it's your silent partner in developmental stage food preparation that grows with your child's evolving needs. When I stopped designing 'baby-only' recipes after serving my infant's carrot-ginger puree as the base for dinner soup, I realized the true potential of versatile tools. Today, I'll guide you through mastering texture control at every stage, without the noise anxiety or kitchen chaos that keeps so many caregivers up at night. This isn't about perfection; it's about creating a system that works for your family's rhythm while honoring your baby's developmental cues.
Your baby's journey from smooth purees to family table foods isn't just about nutrition, it's neurological development happening right before your eyes. That "mushy" phase isn't arbitrary; it's building oral motor skills needed for speech and safe eating. Texture progression technology in modern appliances gives you precise control, but without a proper workflow, you'll still face mealtime resistance or choking anxiety. For a science-backed walkthrough, read our gag-free texture progression guide.
Cook once, feed many: that's the mantra that transforms feeding from chore to connection.
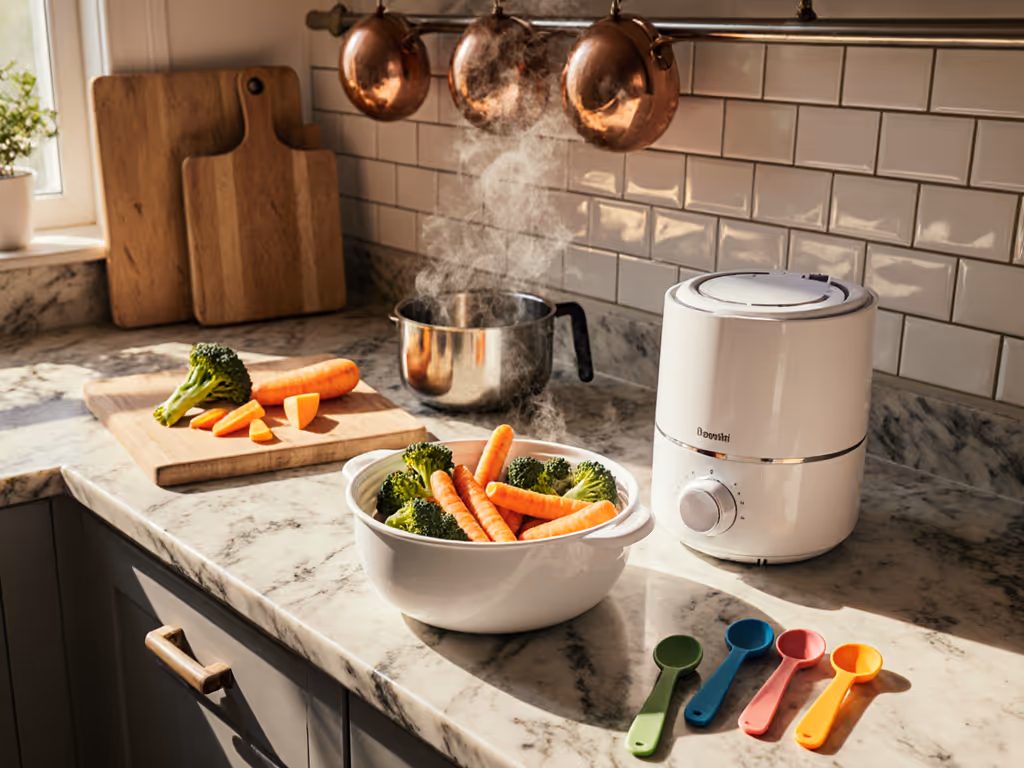
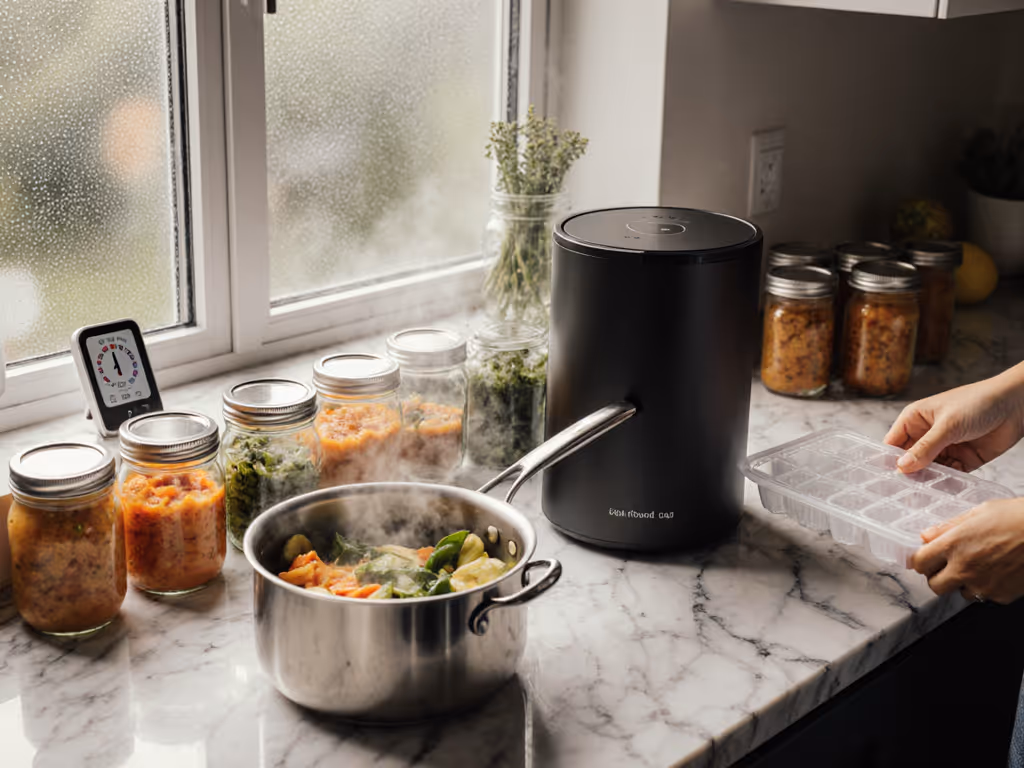
Before we dive into stages, let's establish a foundation that respects your precious nap windows and mental bandwidth. These quiet-prep steps take 15 minutes weekly, and they prevent daily kitchen meltdowns:
This system-first approach means you're never starting from scratch when baby suddenly rejects the texture they loved yesterday, because texture preferences evolve faster than any parenting book can predict.
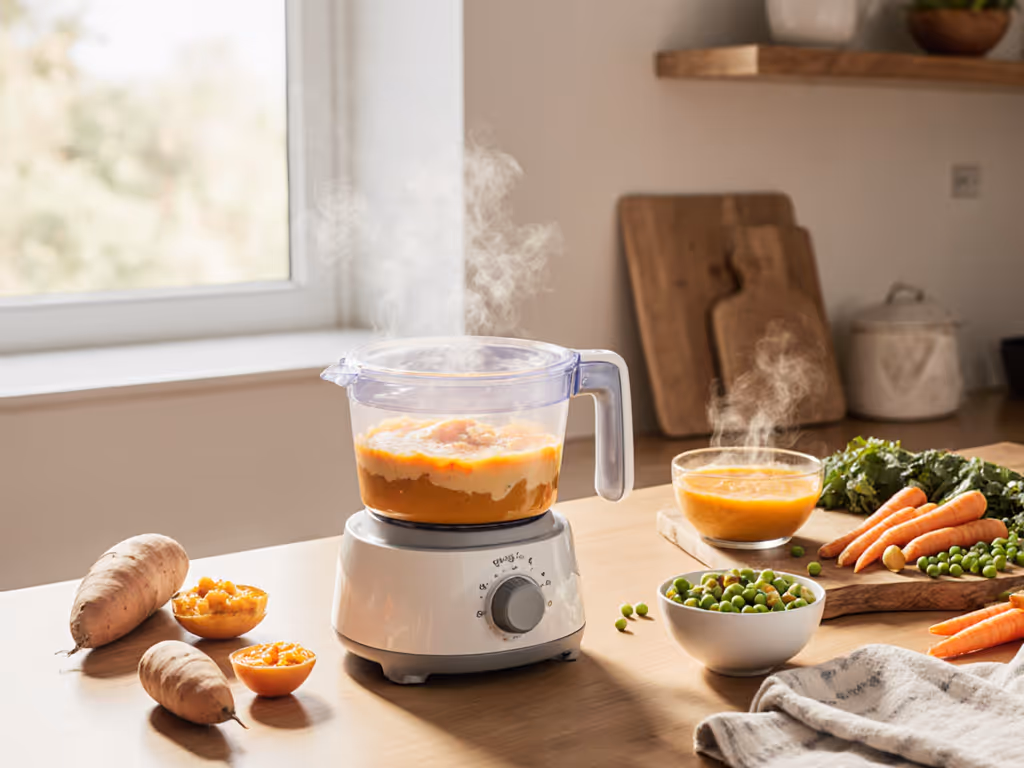
The goal: Thin, silky purees that flow easily off the spoon
When your baby starts showing interest in food (typically around 6 months), they need liquid-like consistency that doesn't require chewing. Many parents unknowingly create too-thick purees that cause gagging, and puree consistency control is everything here.
Quiet-prep technique:
Family twist: These base purees become your secret weapon for dinner sauces. That smooth cauliflower puree? Mix with garlic and herbs for a creamy pasta sauce everyone will love.
The goal: Mashed textures with soft, dissolvable lumps that encourage gumming
At this stage, babies develop the "tongue thrust" reflex to move food backward, meaning they're ready for thicker textures that require some oral manipulation. This phase is where many parents get stuck, either rushing to chunks (causing frustration) or lingering too long in Stage 1 (delaying oral development).
Texture progression hack:
Watch for readiness cues: Does baby bring hands to mouth confidently? Do they lean toward food when hungry? These matter more than calendar dates.
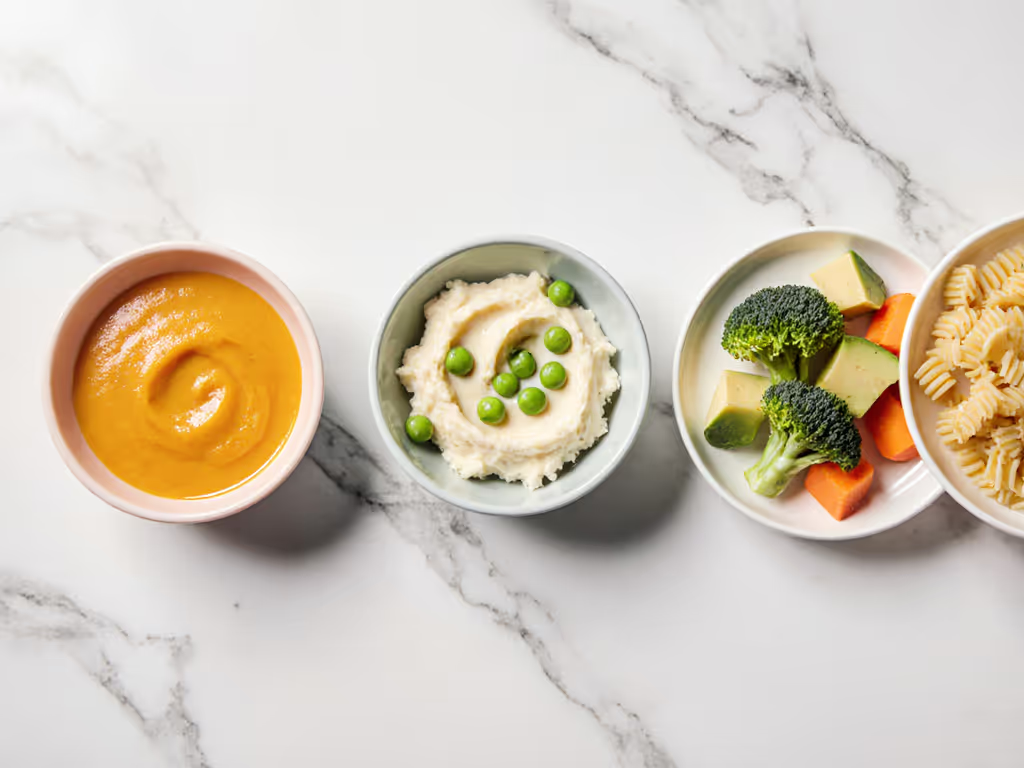
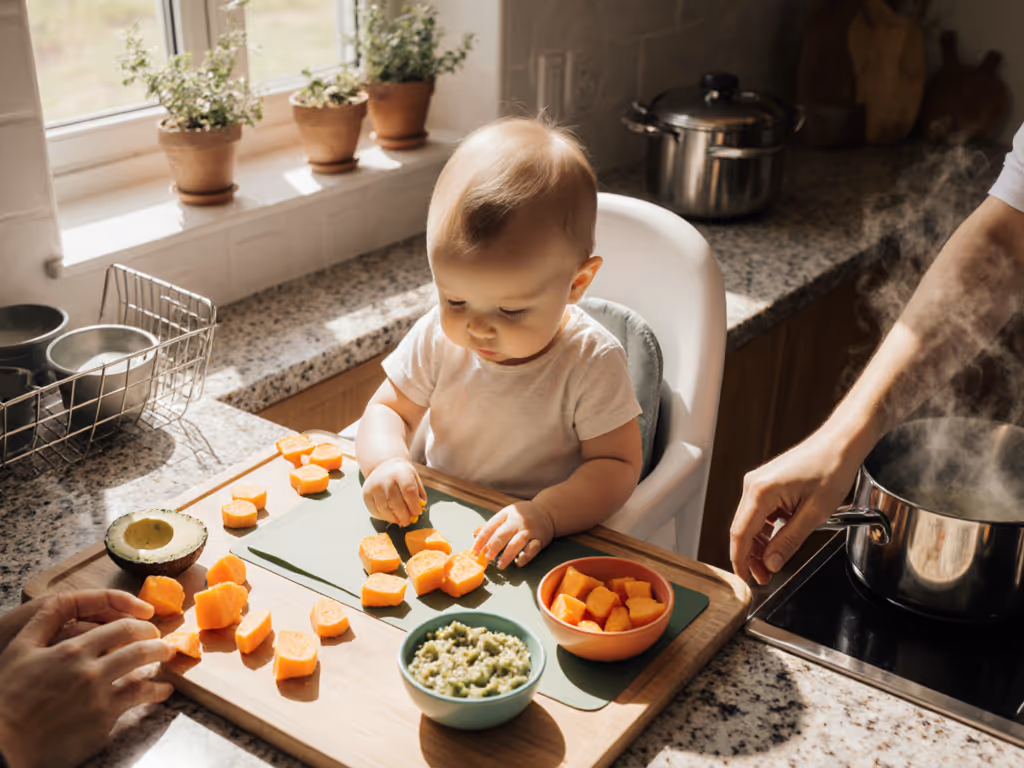
The goal: Visible soft chunks that require actual chewing practice
This is where your knowledge of food maker developmental stages becomes crucial. Many parents continue pureeing when baby needs to practice chewing, a skill that directly impacts speech development. Look for the pincer grasp (index finger and thumb coordination) as your signal to advance textures.
Quiet-prep success strategy:
The magic moment? When your baby eats the same roasted sweet potato you're having at dinner, but with slightly smaller pieces. This is family-first framing in action.
Your baby food maker shouldn't retire after 12 months, it should evolve into a family kitchen workhorse. As you expand flavors, follow our allergenic foods introduction guide for timing and safety. I regularly use mine for:
The ratio shift: Stop thinking "baby food" and start thinking "mini portions of family meals." That lentil soup you're making? Reserve a small bowl before adding spices, thin it slightly with broth, and you've got a Stage 3 meal.
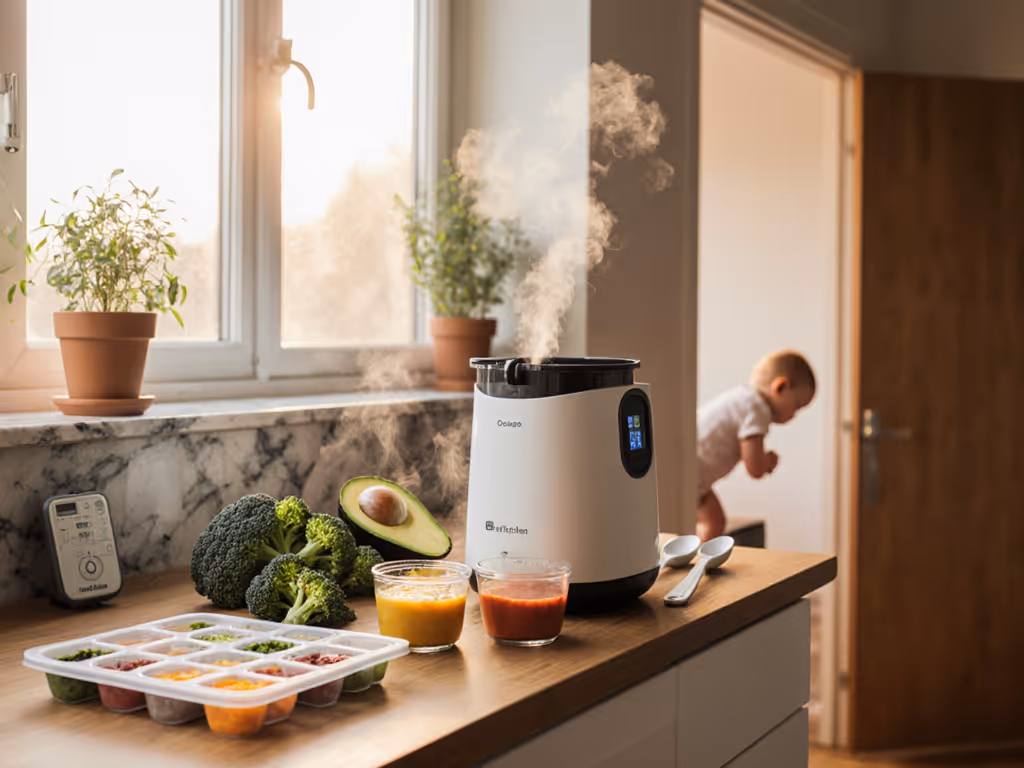
The best developmental stage food preparation system respects your energy limits. Each Sunday, I:
This creates a visual batch-and-freeze map that eliminates decision fatigue mid-feeding. For portion sizes and freezer organization, use our baby food storage guide. When baby suddenly refuses peas at 7 months, you're not scrambling, you're grabbing pre-portioned sweet potato from Stage 2 and mixing with a new ingredient.
Texture progression isn't about hitting arbitrary milestones, it's about observing your unique baby's cues while having a system that adapts. Start with one ratio (like 1 cup steamed food + 2 tbsp liquid for Stage 2) and adjust based on your baby's reactions. The right appliance makes this transition quiet, efficient, and integrated into your family rhythm, not a separate production.
Remember that moment when I served my baby's puree as dinner soup starter? That's the mindset shift we're after: Cook once, feed many. Whether you're at 4 months or 14 months, your kitchen efforts should nourish everyone, without the noise anxiety or constant appliance rotation.
Ready to take this further? Download my free Texture Transition Cheat Sheet with exact pulse times and liquid ratios for common vegetables, tested across three different baby food makers during actual nap times. Because the best tools don't just make food, they make family life flow.