In a crisis, emergency preparedness baby food makers and truly disaster-ready baby food equipment are not about gourmet puree: they are about safe calories, low effort, and tools that still work when the power is out and the sink is slow. The right setup lets you keep feeding calm and predictable even when everything else is not.
I test gear assuming one arm is holding a baby or steadying a toddler. For true no-power playbooks, see our off-grid baby food prep guide. If a tool can't be loaded, operated, and rinsed with one hand, it doesn't make my emergency short list.
What "Emergency-Ready" Really Means for Baby Food Gear
Before comparing specific types of baby food maker, it helps to define what "good" looks like in an emergency.
Public health and disaster agencies consistently recommend that families keep at least three days of nonperishable food and water on hand, including infant-safe foods and snacks.[8][9][6] For families with babies, checklists also call out nonperishable baby food, formula, and baby-specific feeding supplies.[6][1] That frame (three days with limited power and water) is how I score gear.
For disaster preparedness baby nutrition, the ideal baby food equipment has these traits:
In an emergency setup, I count every step and every milliliter of water. Rinse counts as a metric.
The Main Types of Emergency Baby Food Makers
Instead of chasing brand names, think in categories of tools. Below, I compare how each category performs specifically for power outage baby food preparation and evacuation scenarios.
1. Simple Manual Mashers & Forks
What they are:
Sturdy metal forks, potato mashers, or dedicated baby mashers used with a bowl.
Why they matter in emergencies
- Power: No electricity or batteries. Always ready.
- Noise: Nearly silent, good for shared shelters or small apartments with thin walls.
- One-handed use:
- You can stabilize a bowl with your forearm or elbow and mash with your free hand.
- A masher with a vertical, grippy handle is easier on postpartum wrists.
- Cleanup:
- One utensil + bowl.
- Rinses in seconds; minimal water needed.
- Texture range:
- Great for soft foods (banana, avocado, cooked sweet potato, well-cooked lentils).
- Poor for fibrous meat or skins; you will get small chunks.
Emergency score: Excellent as a baseline tool. If you packed nothing else, a masher + safe, soft foods can carry you.
2. Manual Food Mills & Presses
What they are:
Hand-cranked or press-style mills that push food through a perforated plate to remove skins and fibers.
Why they matter in emergencies
- Power: Fully manual; a good match for outage or evacuation.
- Noise: Quiet, low-vibration crank sounds, reasonable to use while a baby naps nearby.
- One-handed use:
- Some designs let you hold the handle with one hand and press or crank with the other.
- Look for: non-slip base, clamp, or a model that sits stably on a bowl so you're not chasing it around the counter.
- Cleanup:
- Typically 3-5 parts (bowl, disk/plate, crank, maybe a scraper).
- Check for simple shapes; avoid complicated hinges that trap puree.
- Still manageable with a small basin of boiled or bottled water and a dot of detergent, consistent with emergency cleaning advice.[2]
- Texture range:
- Excellent for smooth purees from mixed foods and cooked meats.
- Good for babies just starting solids and for caregivers with choking anxiety.
Emergency score: Best for families who expect to puree everything the family is eating (soups, stews, beans, vegetables) into baby-safe textures without electricity.
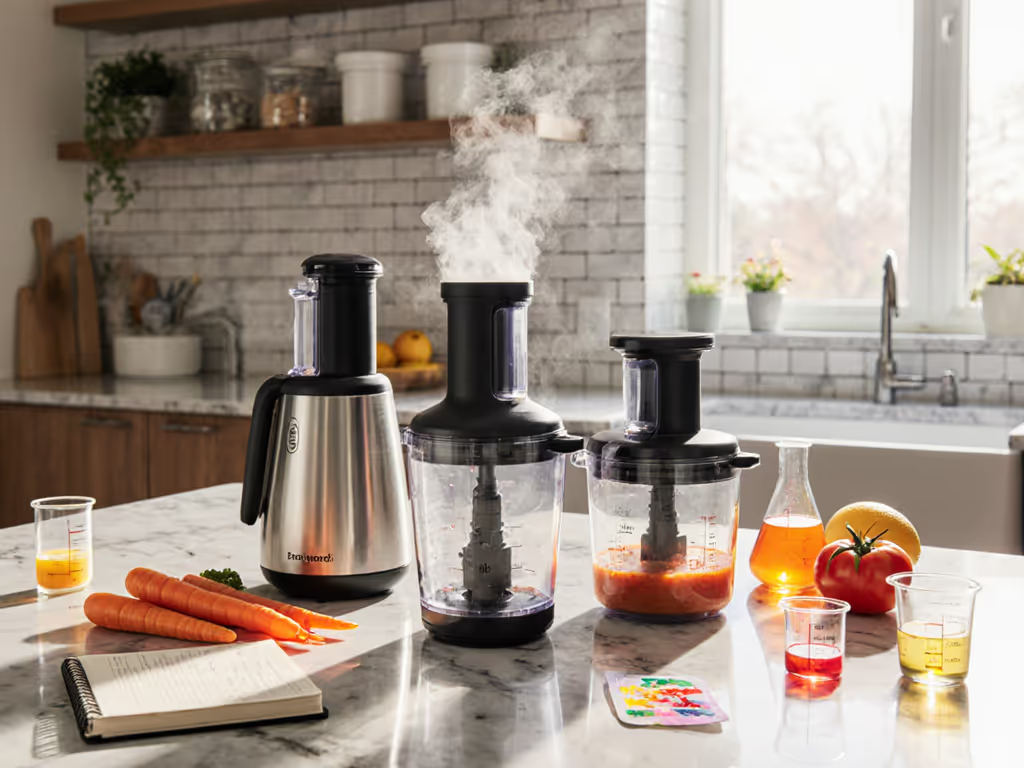
3. Hand-Crank Mini Processors
What they are:
Small countertop processors with a pull-cord or crank that spins blades inside a lidded bowl.
Why they matter in emergencies
- Power: Manual, but more efficient than a fork. A few pulls equals dozens of knife chops.
- Noise: Low mechanical whir, much quieter than electric motors.
- One-handed use:
- The best models let you hold the lid with your palm while pulling a cord with the other hand.
- One-handed checks: can you open, load, pull, and pour without needing to stabilize it with your knee or hip?
- Cleanup:
- Small bowl + lid + blade.
- Check for: sealed gear mechanism so food doesn't get into the pull cord housing.
- Blades can be sharp; safe defaults include a stem to lift them out without fishing.
- Texture range:
- From finely minced to small chunks depending on number of pulls.
- Good for babies transitioning to thicker textures and for toddlers (salsas, dips, small-chopped veggies).
Emergency score: Excellent multi-use gear, equally at home in an outage, on a camping trip, or in everyday lunch prep. For model picks that pack light and stay quiet on the go, see our portable travel baby food makers.
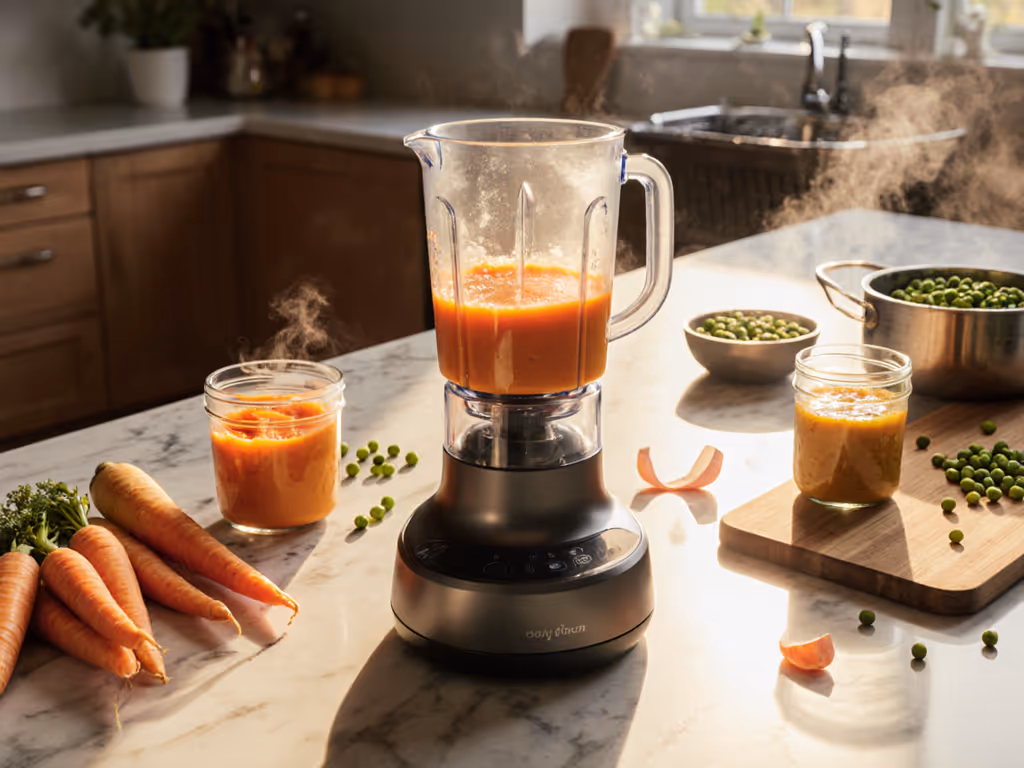
4. Cordless Rechargeable Blenders & Mini Choppers
What they are:
Small battery-powered blenders or mini choppers charged via USB or wall adapter. If you’re considering this route, compare cordless models’ battery life before relying on one for outages.
Why they matter in emergencies
- Power:
- Can be pre-charged before storms or fire season.
- Some can recharge from a power bank, car, or small solar panel, which many families already keep as part of general emergency kits.[8][9]
- Noise: Quieter than full-size blenders but not silent. Expect noticeable hum.
- One-handed use:
- Push-button operation is very one-hand friendly.
- Risk: small bases can tip; choose a stable, wide footprint.
- Cleanup:
- Usually simple: cup + blade assembly + lid.
- Check that electronics are confined to the base so the cup and blade can soak and wash.
- Texture range:
- Smooth purees, smoothies, and soft food blends.
- Some struggle with very fibrous or hard ingredients without enough liquid.
Emergency score: Strong bridge between normal life and outage mode, especially if your household already uses power banks and solar chargers.
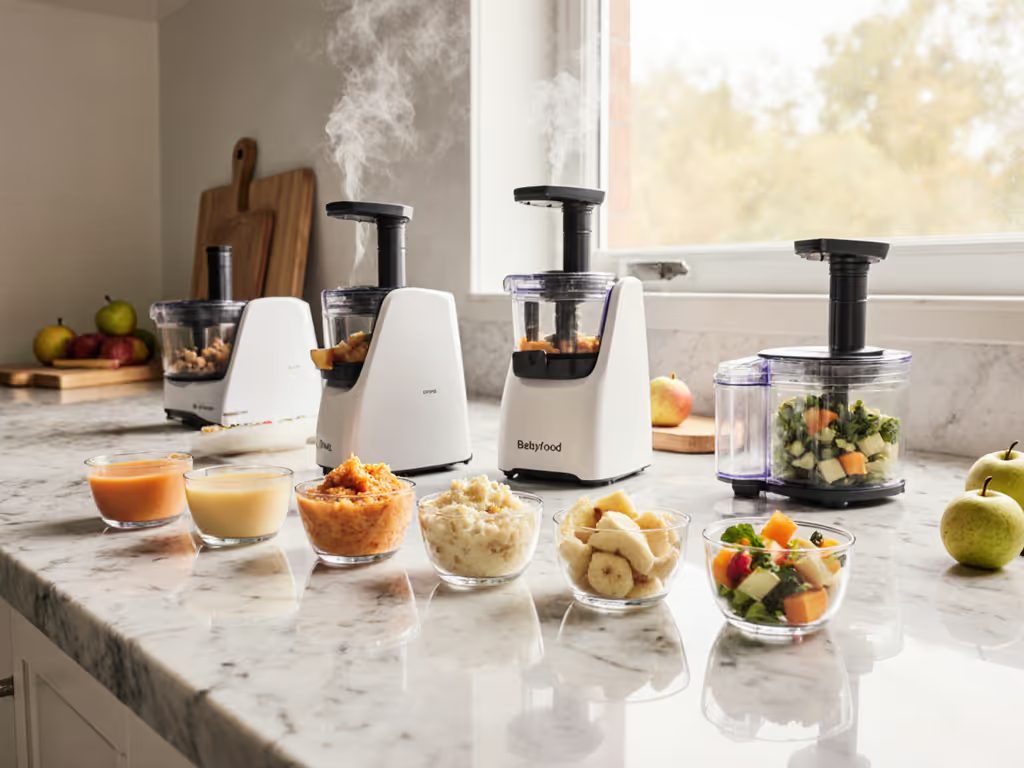
5. Full Electric Baby Food Makers (Steam + Blend)
What they are:
Countertop units that steam and blend in one jar.
Why they are limited in emergencies
- Power: Wall-outlet dependent. Without a generator or inverter, they are dead weight in a prolonged outage.
- Water:
- Require clean water in the steam tank and more water to wash multiple parts.
- In emergencies, guidance often prioritizes saving fuel and safe water for essentials like drinking, boiling formula water, and washing bottles.[2][3][8]
- Noise: Typically louder than manual or cordless-only options.
Emergency score: Great for day-to-day meal prep, not a primary solution for true disaster scenarios. If you already own one, you can keep using it in short outages when a generator is available, but don't rely on it as your only system.
Side-by-Side Comparison for Emergencies
Here is a high-level comparison for disaster-ready baby food equipment:
| Gear Type | Power Source | Best For | One-Hand Friendliness | Cleanup Load | Noise Level | Storage Footprint | Emergency Score* |
|---|
| Manual masher / fork | None | Soft foods, very low effort & water use | Good | Very low | Silent | Tiny | 5/5 |
| Manual food mill / press | None | Smooth purees from family meals | Fair-Good | Low-Medium | Very quiet | Small-Medium | 4.5/5 |
| Hand-crank mini processor | None | Chopped & mixed foods, toddler textures | Good | Low | Quiet | Small | 4.5/5 |
| Cordless mini blender/chopper | Battery | Smooth purees & smoothies with flexible power | Very good | Low | Moderate | Small | 4/5 |
| Electric steam-blend unit | Wall outlet | Regular home use, precise steaming & blending | Good | Medium-High | Moderate-Loud | Medium | 2/5 (emergency) |
*Emergency score is based on power independence, water needs, cleanup time, and durability in realistic outage/evacuation conditions.
Designed for one hand, tested during nap-roulette, approved under pressure.
How This Fits With Official Emergency Feeding Guidance
When we talk about making food in a disaster, we have to pair equipment with safe feeding practices.
Formula and Water Safety
Health agencies emphasize a few key points:
- Ready-to-feed formula is the safest option in emergencies when safe water or refrigeration may be limited.[2][3][5][6]
- If you must use powdered or concentrated formula, you should boil tap or bottled water for 2 minutes, then let it cool before mixing.[2]
- Prepared bottles of formula must be refrigerated at 4 °C (40 °F) and used within 24 hours.[2]
- If you lose power, guidance recommends using single-serve ready-to-feed formula rather than made-ahead bottles that cannot be kept cold.[2]
- Once power returns, any prepared or opened formula stored in a fridge above 4 °C (40 °F) for 4 or more hours should be thrown away.[7]
For your kit, that means:
- Your primary emergency plan for infant milk should be formula or breastmilk storage strategies that match your realistic access to clean water, fuel, and refrigeration, not a gadget.[1][2][7]
- Your baby food maker choice sits on top of these basics, helping with solids once those are covered.
Solid Foods and Storage
Emergency checklists for families with infants and young children recommend nonperishable baby food and snacks appropriate to age.[6] Evacuation guidance often suggests enough canned or jarred baby foods for about three days, plus disposable spoons.[3][4]
For emergency baby food storage, think in two layers: For detailed portion sizes and safe storage methods, see our baby food storage and portioning guide.
- Truly shelf-stable
- Commercial baby food pouches, jars, and canned fruits/vegetables.
- Simple family foods that store well: canned beans (rinsed if water allows), canned pumpkin, shelf-stable milk or plant milks for older toddlers.
- Short-term refrigerated or frozen
- If your freezer is full and stays closed, it can keep food safe for 24-48 hours depending on how full it is.[7]
- Cold packs and tightly packed freezers help maintain safe temperature longer.[7]
Your baby food maker then lets you:
- Mash or mill shelf-stable foods into baby-safe textures.
- Turn adult emergency meals (rice and beans, canned veggies, soups) into something manageable for small mouths.
Building a Disaster-Ready Baby Feeding Kit
Here's how to tie it all together into a realistic, compact setup.
1. Pick One Primary Maker + One Backup
A solid, minimalist combo for most families:
- Primary: Hand-crank mini processor or manual food mill (for volume and versatility).
- Backup: Simple masher or sturdy fork wrapped in a clean cloth.
If your household already uses battery packs and solar chargers, a cordless mini blender can substitute for the primary, just remember it becomes a regular appliance once the battery dies.
2. Match Gear to Your Water and Fuel Plan
Many emergency feeding guidelines assume you have some way to heat water to boil it for mixing formula, cleaning, and disinfecting bottles.[2][3][8] That might be:
- A gas stove or camping stove.
- A barbecue with a pot.
- A communal cooking setup in a shelter.
Design your kit so that cleaning your maker never competes with cleaning bottles or dishes. Examples:
- Prioritize tools with smooth, open interiors that flush clean with a small amount of water.
- Avoid gadgets with narrow tubes or sealed hinges that trap puree; you don't want to waste boiled water trying to flush out a crevice.
3. Keep Food Handling Simple and Safe
Follow the same hygiene rules emergency guidance gives for bottles and nipples:[2] For low-water workflows and sanitizer-safe steps, our quick-clean baby food maker guide walks you through exactly how to do it in tight conditions.
- Wash hands with soap and safe water before prepping food. If that's not available, use alcohol-based hand sanitizer (60%+ alcohol).[2]
- Clean bowls, spoons, and your food maker with soap and treated water before each use.[2]
- When contamination is a concern, you can disinfect feeding items by soaking them for about 2 minutes in a mild bleach solution (for example, 1 teaspoon bleach per 8 cups water), then letting them air dry.[2]
For your food maker, that argues for:
- Few parts, all fully immersible, without electronics.
- Materials that tolerate occasional bleach soaks without corrosion or weird smells.
One-Handed Emergency Workflow (Step-Light Version)
Here's a practical routine using a hand-crank mini processor or manual mill, assuming limited water and one free hand.
Scenario: Power is out. You have canned beans, soft bread, a ripe banana, and bottled water.
- 00:00-01:00 - Set up a safe zone
- Secure baby in a carrier or safe place.
- Spread a clean towel on the counter as your prep surface.
- 01:00-03:00 - Quick clean and rinse
- Wash your hands with a small amount of safe water and soap, or sanitize if water is tight.[2]
- Rinse your maker's bowl and blade/plate with a small cup of water; air-dry on the towel.
- 03:00-07:00 - Load and process
- With your free hand, add: banana chunks + well-rinsed canned beans.
- For a processor: hold the lid with your palm and pull the cord 5-10 times.
- For a mill: turn the crank steadily while the base rests on a bowl.
- 07:00-09:00 - Serve
- Use the same spoon to do a quick taste/texture check, no hard fragments or skins.
- Feed directly from the bowl to avoid extra dishes.
- 09:00-12:00 - Minimal cleanup
- Scrape leftovers into a compost/trash bag (do not save at room temp for later).
- Wash bowl and tools in a small basin with soap and safe water, as you would bottles.[2]
- If water is scarce, prioritize visible cleanliness and then let items fully air dry.
This entire loop is designed so that you can realistically do it with one arm busy and just a few cups of water, no extra strain on your emergency supplies.
Actionable Next Step: 20-Minute Baby Feeding Kit Audit
To move from "I should prepare" to "we're covered," block 20 minutes and walk through this:
- Audit what you already own (5 minutes)
- Do you have: a sturdy fork/masher, a manual mill or hand-crank chopper, or a cordless mini blender?
- Can each be operated with one hand while the other stabilizes a bowl or holds a baby?
- Choose your primary + backup maker (5 minutes)
- Pick one non-electric primary tool (mill, masher, or hand-crank processor).
- Add a backup masher or fork dedicated to your emergency bin.
- Pair your gear with supplies (5 minutes)
- Ensure you have at least 3 days' worth of nonperishable baby foods and snacks, plus baby-safe spoons.[6][3][4]
- For milk feeding, align with official guidance: ready-to-feed formula or a clear plan for safe water and storage if using powdered formula.[2][6]
- Run a 10-minute "power-off" drill (5 minutes)
- Turn off kitchen lights. Pretend you do not have running hot water.
- Make one baby meal using only your chosen emergency maker, bottled or stored water, and a headlamp or window light.
- Note: where did you fumble? Was the base slipping? Did cleanup feel doable? Adjust accordingly.
If, at the end of that drill, you can say, "I can get a safe, decent-texture meal into my baby with one hand, little water, and no outlets," your emergency preparedness baby food makers are doing their job, and you have one less thing to worry about when the weather alert tone goes off.